
Explore Productsended
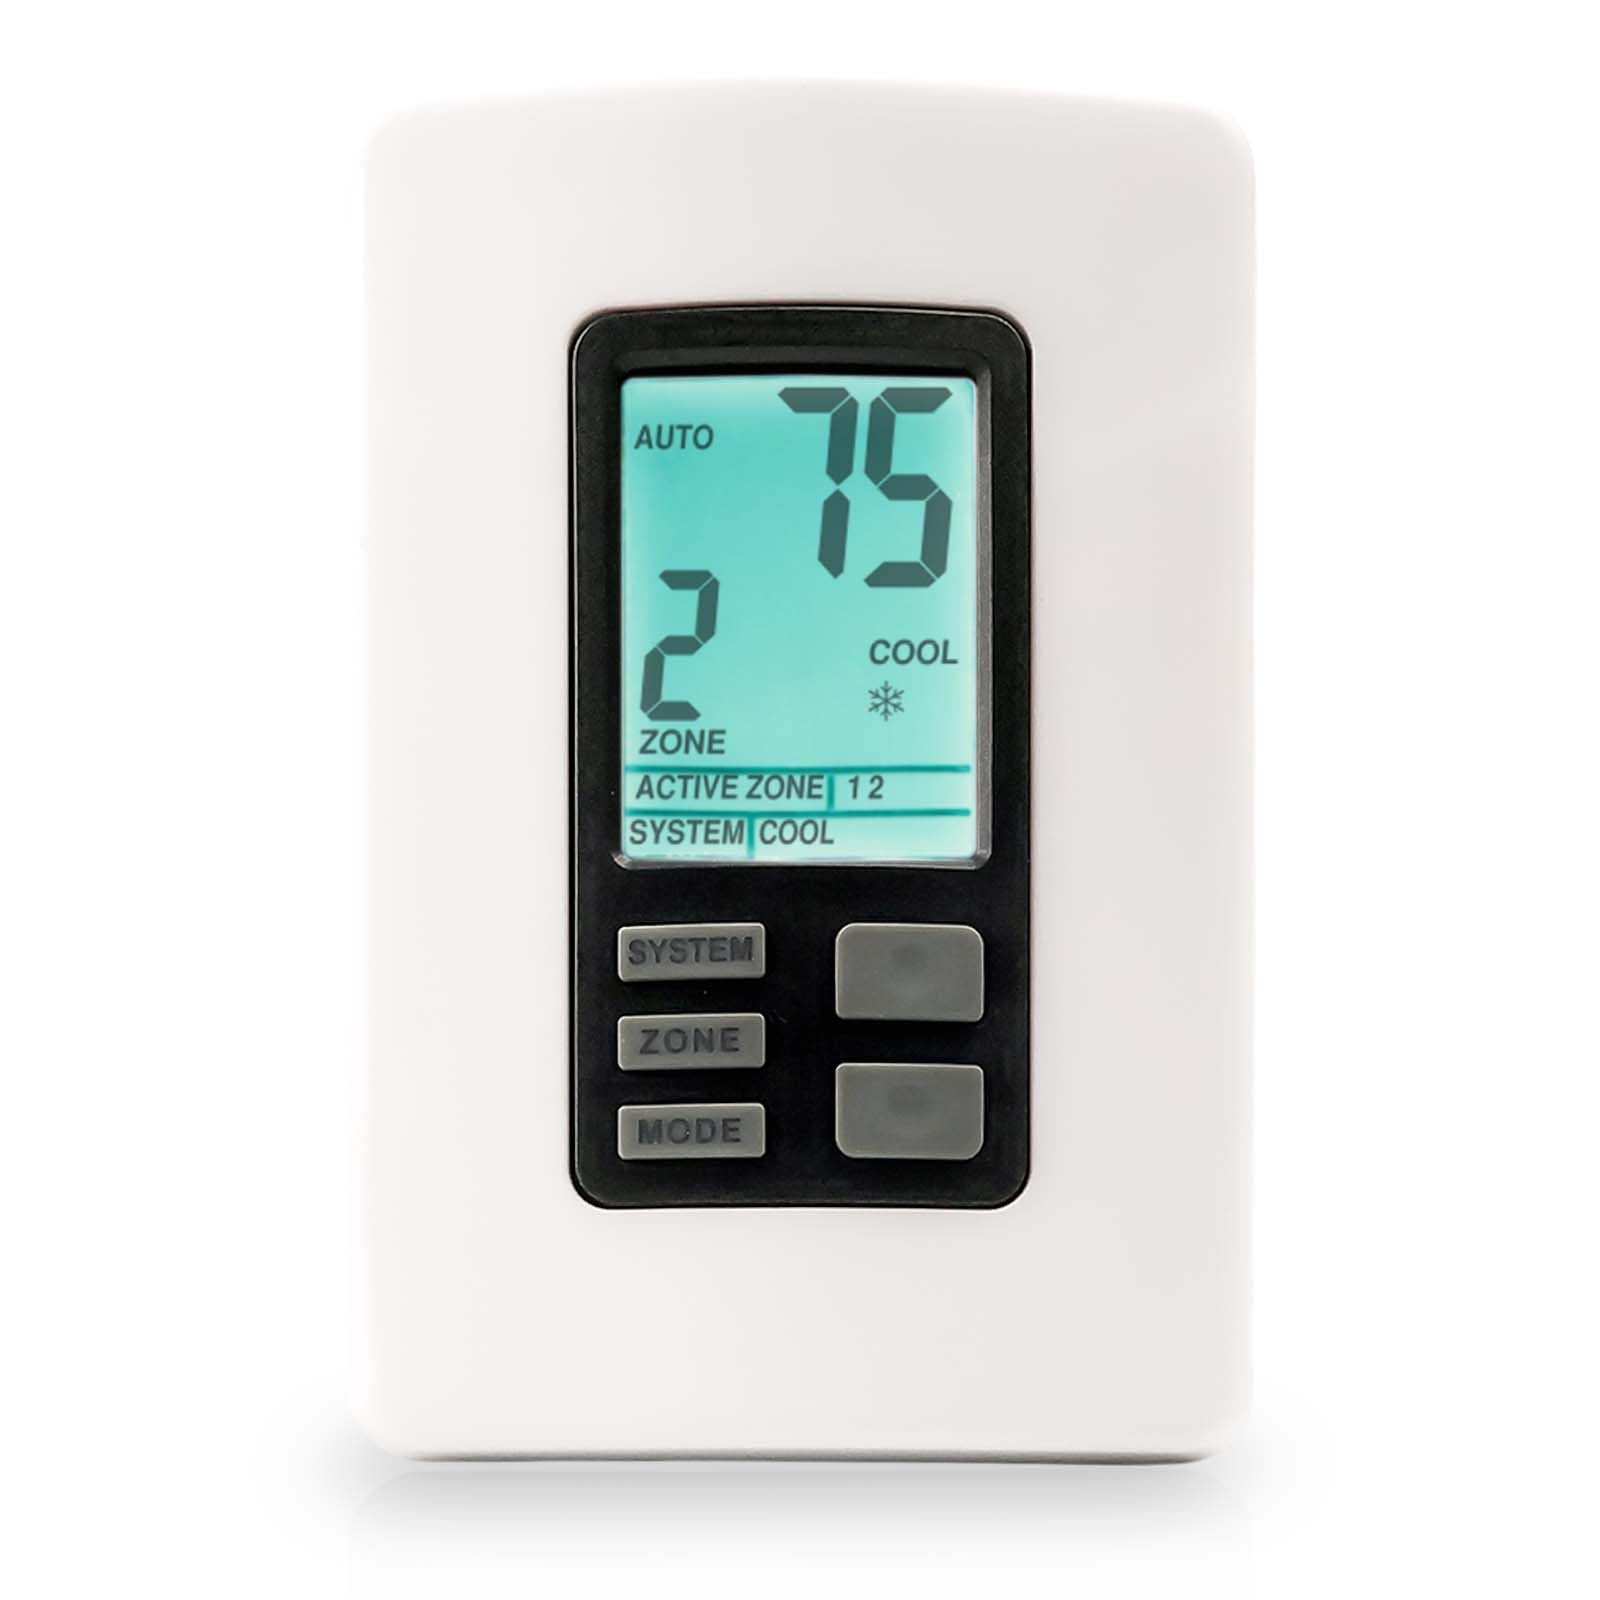
9330A3351 Compatible with Coleman Mach 9- Series Multiple Zone RV Digital Thermostat Controller System Fits Air Conditioner and Heat Pump 4XXXX Series, Wall-Mounted, 5-Button, 12V, White, 9330-3351
9330A3351 Compatible with Coleman Mach 9- Series Multiple Zone RV Digital Thermostat Controller System Fits Air Conditioner and Heat Pump 4XXXX Series, Wall-Mounted, 5-Button, 12V, White, 9330-3351
Item Details
Seller

Nellis Auction
Pickup Location
4000 Meadows Ln
Las Vegas, NV, 89107
Quality
New
Functional
No Damage
No Assembly Needed
In Package
No Missing Parts
Estimated Retail Price
$81.50
Buyers Premium
15%
Inventory Number
1040745973
Found in
Additional Details from the Manufacturer
This item information is coming from the manufacturer. Some of the details may vary from the Nellis Auction listing. Please check the Quality Rating and Notes for information specific to this listing
brand
RHAOCZIYAUTOcolor
WhiteMore features
- Compatible with : The zone control digital thermostat oem# 9330A3341 , 9330-3341 , 9330A3351 , 9330-3351 , compatible with 9xxx or 9330-33* series control packages , fit for coleman-mach air conditioner and heat pump series - 452xx , 472xx , 482xx , 492xx , 450xxx , 470xxx , 480xxx , 490xxx or more. Type: Heat/ Cool
- Multi Zone Control : The 9330-33 zone thermostat controls 4 air conditioners/heat pumps and 2 heating sources, in heat or cool mode (not simultaneously). Each zone can be set for: - 1.Cool-only units - 2.Heat/cool units - 3.Heat pump units - 4.Heating appliances. Compatible with RV Products air conditioners and a zone control box, it manages up to 4 climate-controlled zones
- Problem Solvable : 1. No display on LCD - 2. Heat or Cool displays on thermostat, but can’t modify settings - 3. “Er” displaying on thermostat - 4. Temperature does not change on thermostat when unit is running - 5. Appliances not responding to thermostat setting changes - 6. Setpoint cannot be adjusted - 7. GAS fashing on LCD display - 8. Backup heat source running with Heat Pump idle - 9. Two or more units have identical operation - 10. Unit not responding
- Easily install : There are no complicated installation steps, please refer to the supplied manual for detailed installation procedures. - 1. Attach the external room sensor to the wall using (2) #6 x 3/4 screws. - 2. Wire the external room sensor to the terminals marked “ROOM” on the control box low voltage strip. - 3. Separate the thermostat cover from the base by gently pulling on both sides. - 4. Connect the motor coach wiring harness to the thermostat wire plug lead. - 5. Attach the thermostat base to the wall at the desired location using (2) #6 x 3/4 screws. - 6. Re-attach the thermostat cover after securing the thermostat base to the wall
- Attention : We sincerely appreciate the purchase of our digital thermostat. If product has any quality issues, you can request to send a new product, we value your shopping experience

See the deals
Get in on the action, thousands of new items added daily. Bid and win!
Start bidding now